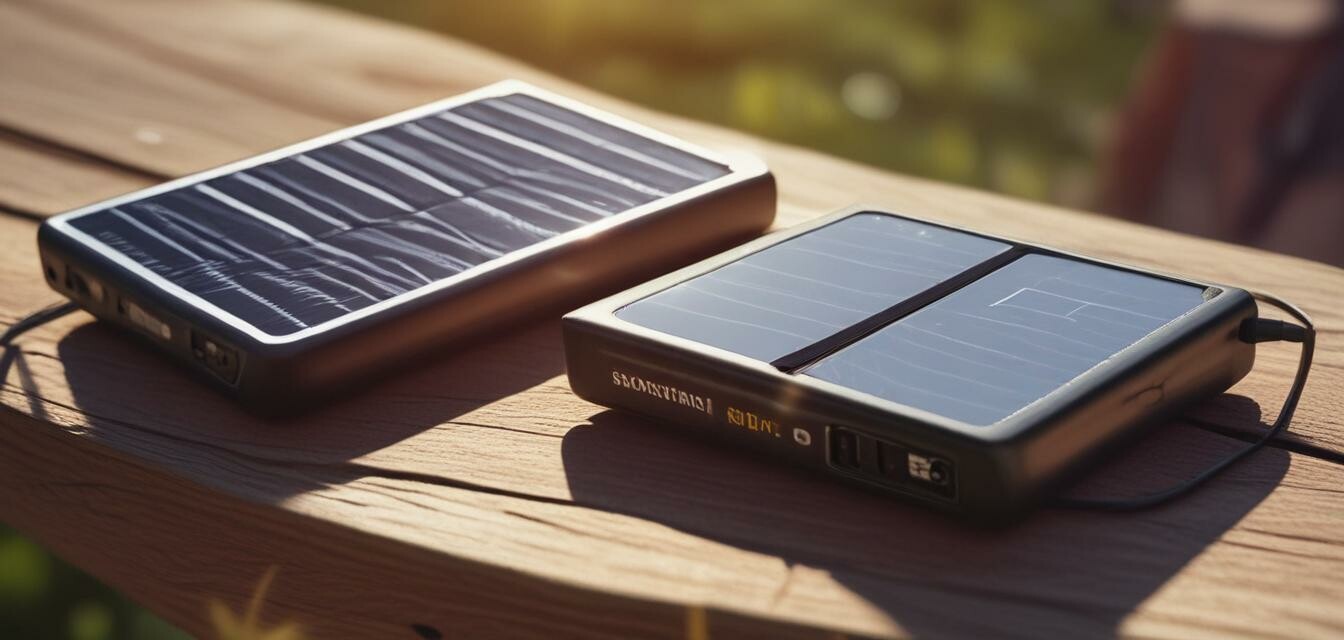
How to Make a Solar-Powered Portable Charger
Key Takeaways
- Solar-powered portable chargers provide an eco-friendly charging solution.
- DIY approach allows customization based on your needs.
- Understanding components is key to building an efficient charger.
- Perfect for outdoor activities and emergencies.
- Regular maintenance ensures longevity and performance.
In today's fast-paced world, staying connected during outdoor adventures is essential. Whether you're camping, hiking, or spending a day at the beach, having a reliable power source for your devices can make a significant difference. Building your own solar-powered portable charger not only empowers you to stay charged but also contributes to your grid independence journey. In this guide, we'll provide you with step-by-step instructions to create your own solar-powered portable charger.
Why Choose a Solar-Powered Portable Charger?
There are several reasons to opt for solar-powered chargers:
- Eco-Friendly: Utilizes renewable energy to charge your devices.
- Cost-Effective: Once built, it can charge devices indefinitely without recurring costs.
- Convenience: Ideal for outdoor activities, traveling, or emergency situations.
Components Needed
Here is a list of the essential components you will need to build a solar-powered portable charger:
| Component | Purpose | Recommended Specifications |
|---|---|---|
| Solar Panel | Converts sunlight into electricity | 10W - 20W |
| Battery | Stores energy for later use | Li-ion or Li-polymer, 5V, 2000mAh+ |
| Charge Controller | Regulates battery charging | 5V input/output |
| USB Output Ports | Connects devices for charging | At least one USB-A port |
| Enclosure | Houses the components | Water-resistant material recommended |
Step-by-Step Instructions
1. Prepare the Solar Panel
Begin by securing the solar panel. Ensure it's clean and unobstructed to maximize sunlight absorption.
2. Connect the Charge Controller
Connect the solar panel to the charge controller using appropriate wires. This device is crucial to prevent overcharging the battery.
3. Attach the Battery
Connect the charge controller to your battery. Ensure the polarity (+/-) is correct to avoid any damage.
4. Set Up the USB Output Ports
Connect the USB output ports to the battery. This will allow you to charge multiple devices simultaneously.
5. Assemble Everything in the Enclosure
Carefully place all components into the enclosure. Secure the panel on the outside and ensure there's adequate ventilation for the battery.
6. Test Your Charger
Once assembled, test your charger by placing it in sunlight and connecting a device to ensure it's working correctly.
Maintenance Tips
To keep your solar-powered portable charger in top shape, consider these maintenance tips:
- Regularly clean the solar panel to remove dirt or debris.
- Check connections for any corrosion or damage.
- Store in a cool, dry place when not in use.
Tips for Beginners
- Start with a simple design before adding complex features.
- Watch tutorials online for visual guidance.
- Join DIY forums for support and tips.
Pros
- Renewable energy source.
- Cost-effective in the long run.
- Portable and lightweight for easy transportation.
Cons
- Requires sunlight to recharge efficiently.
- Initial setup may require some technical skills.
- Limited charging capacity compared to conventional chargers.
Conclusion
Building your own solar-powered portable charger is a rewarding project that not only enhances your outdoor adventures but also promotes sustainability. With the right materials and steps, you can have a reliable power source that reduces your dependency on the grid. For more DIY projects, check out our DIY Projects category to further your grid independence journey!


